Hyperion Tutorial - A.D. 4956
A.D. 4956
Moving the Rest of Your Units
Next let’s start cycling through your units. Pick any of the stacks and either sentry them or skip them for this turn. Continue to do this for the rest of your stacks until we get to the stack on Byzantium II.
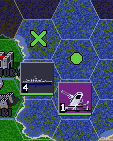
Once you get to your stack on Byzantium II, load 2 Power Lgns aboard your Freighter,

blast off, and jump to Criticorum. Next, select one Rebel Flak and start moving it northwest.
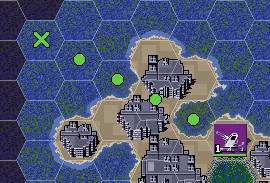
Once you get near the top of the map, have it “bounce”
off the map by moving it southwest. Notice the speed of a Hover unit over this kind of terrain. Next take another Rebel Flak and send it northeast 2 hexes.
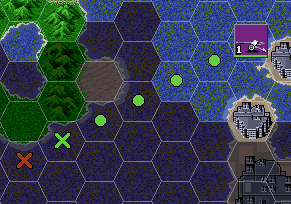
Note that you are right next to the Imperial Guard's forces and may start spotting a few of their units.
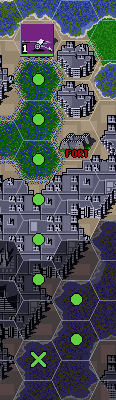
If you are curious, take a look at their stacks. The stack directly north of your Rebel Flak is a group of Imperial Guard Naval units.

Right click on this stack and notice that it consists of 1 Naval Cruiser (Tsunami) and 3 Naval Frigates (Moray Eels) (you may see more or less depending on how many you spotted). Note the attack capabilities and statistics of these units. The Naval Cruisers have Water and Air attack capabilities as well as the Naval Frigates. Note however, that the Naval Cruiser is much stronger in Air than Water, while the Naval Frigate is much stronger in Water than Air. Also note that the Frigates are faster than the Cruiser. You will also notice something strange about this stack of Naval units – their movement type. These Naval units have a movement type of W which means Wheel in standard EFS. In Hyperion, W means Water.
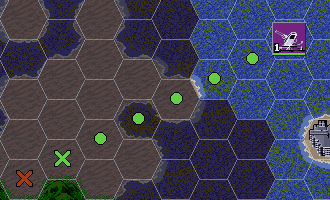
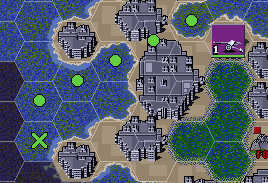
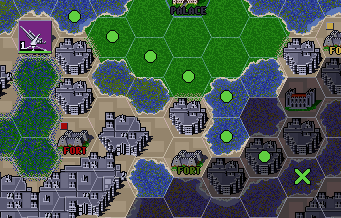
Once you are done looking at their units, skirt around the bottom of their cities
and again proceed northeast. Again, if you spotted any Imperial Guard Forces, you can look at their stacks if you’re curious. Right click on the other Naval stack
and note that it is comprised of the same units as the other Naval stack. Next right click on the Factory and look at this stack.

This stack contains 1 Imperial Missile Battery (Morning Star). Note that this unit has Indirect, Air, and Ranged Space. The Imperial Missile Battery is a special unit in Hyperion that cannot be built. There are special units in Hyperion that have been constructed by means that are kept highly secret. This is the case with the Ministries, the League, the Church, the Symbiots, the Vau, and the Rebels. Continue moving towards the North
 and then East
 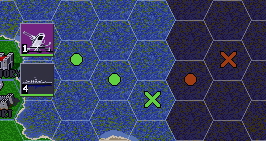 to finish scouting with this unit.
If you spot any al-Malik forces you can take a look at them. Next take a Rebel ATG and send it directly south.
If you spot any Hazat units along the way, take a look at them. Next take another Rebel ATG and send it southwest.
Finally, take a Rebel Art and send it southeast.
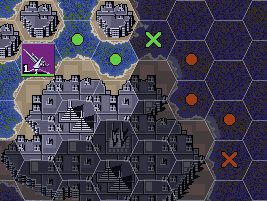
If you spot any Decados or Hawkwood troops, take a look at them if you wish. This should give you a good amount of scouting in each direction from your Fort, radially. Go ahead and sentry the remaining stack on Byzantium II. If you are taken to any remaining stacks, skip them all to get to the end turn screen. Say “No” to the end turn screen.
| < A.D. 4956 - Attacking Cities | A.D. 4956 - Firebirds and Resources > |
| A.D. 4957 >> |